
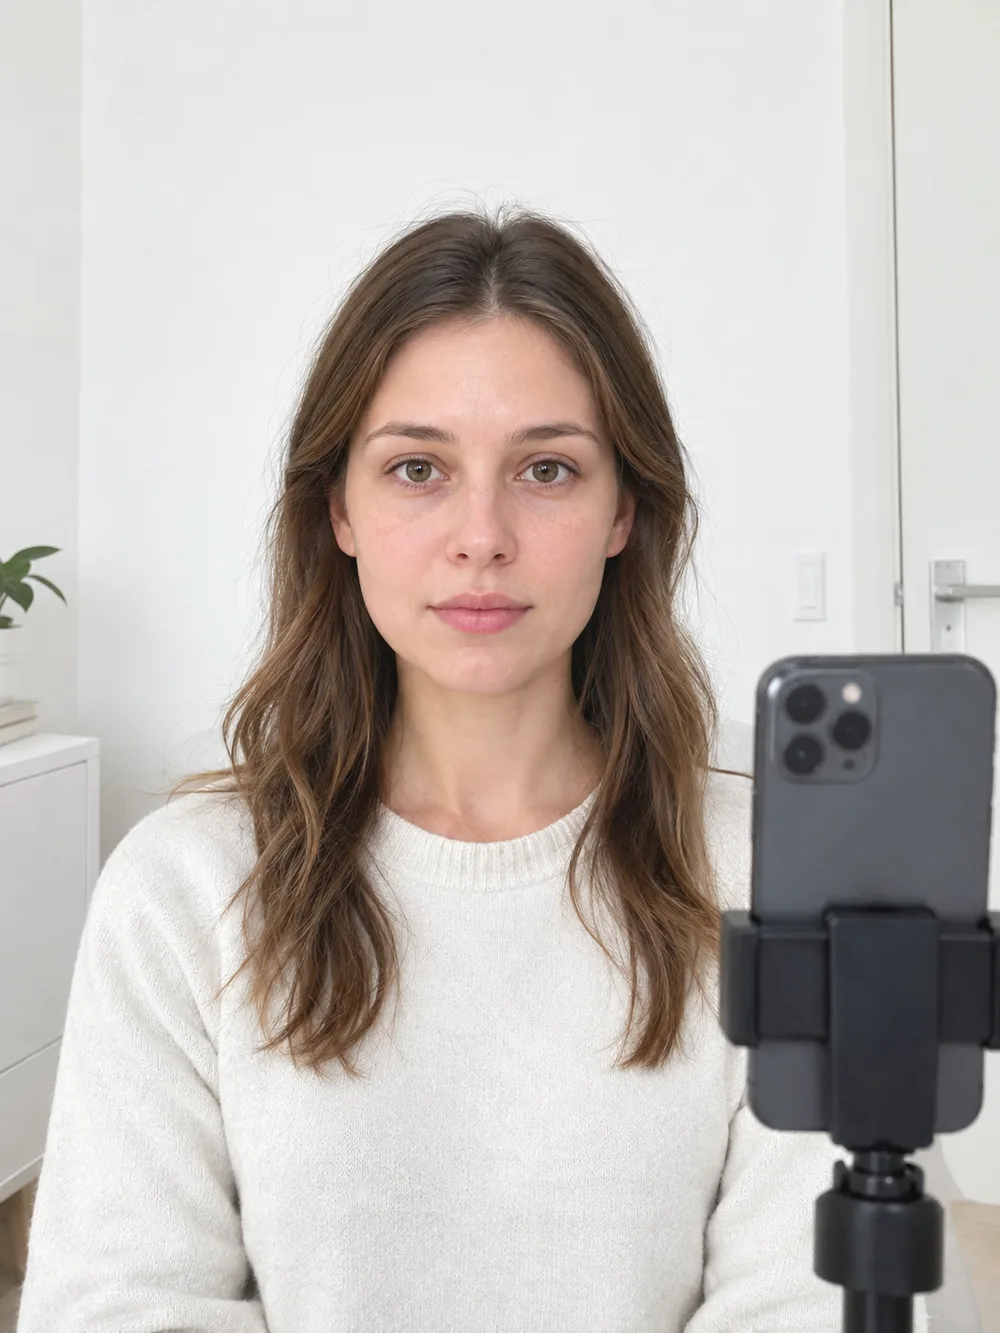
Most passport and ID rules ask for a plain white or off-white background. Rejections often come from shadows, textured walls, or clothes that blend into the wall — not from the crop size alone.
What “white / off-white” usually means
| Do | Avoid |
|---|---|
| Flat, evenly lit light wall | Patterns, posters, shelves behind you |
| Soft daylight or two lamps from the front | Strong backlight that creates a halo |
| Enough contrast with your clothing | White shirt on white wall with no edge |
| Neutral expression, face fully visible | Hats, headphones, heavy shadows under the chin |
US passport guidance commonly allows white or off-white. UK / many EU biometric photos also expect a light, plain background. Always check your country’s current wording.
DIY setup that works
- Stand 0.5–1 m in front of a blank wall (closer walls cast softer shadows).
- Face a window or put lamps in front of you, not behind.
- Wear a top that contrasts with the wall (not pure white on pure white).
- Take the photo at eye level — not from above like a casual selfie.
Then make a passport photo online: upload the selfie, pick your document size (US 2×2, UK/EU 35×45, and more), and preview the background before you pay.
Can software replace a white wall?
Background cleanup helps when the wall is almost right but has a slight tint or clutter. It does not fix a dark room, motion blur, or a face cropped wrong.
Best workflow:
- Capture a clear selfie against the lightest plain wall you have.
- Create the compliant crop with Just ID Photo.
- If you need physical copies, lay them out on a 4×6 print sheet.
For exact 2×2 US dimensions, see US passport photo size. For drugstore paper names, see 3R / 4R / Letter guide.
Common rejection reasons tied to background
- Grey “studio” gradient that looks uneven when printed
- Shadow blob behind one shoulder
- Outdoor brick / fence showing through
- Over-smoothed edges from phone Portrait Mode
If the preview still looks wrong, retake the selfie — a better original beats heavy editing.